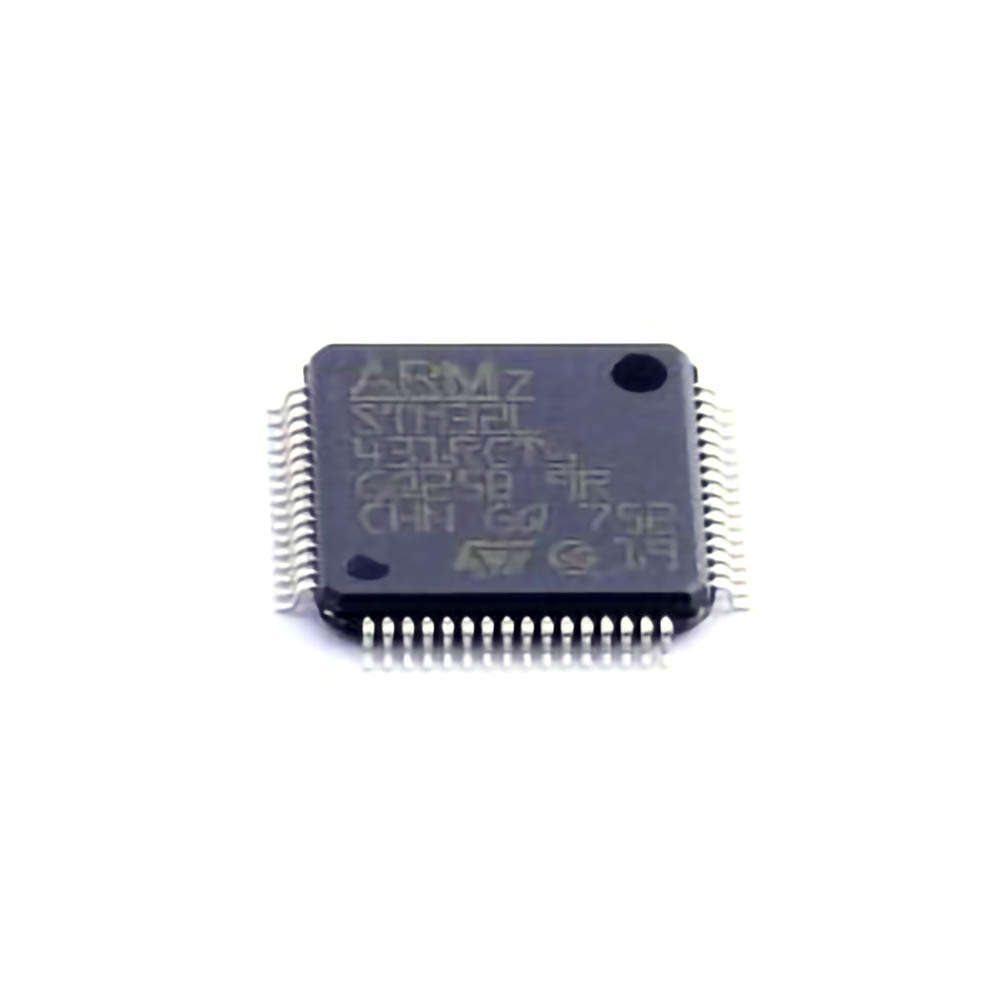
This article provides a comprehensive troubleshooting guide for the STM32L431RCT6 microcontroller, offering insights into common issues and practical solutions. With easy-to-understand explanations, it is designed for engineers, developers, and hobbyists working with STM32L431RCT6 to optimize their embedded systems.
STM32L431RCT6, troubleshooting, STM32 microcontroller, embedded systems, debugging, hardware issues, software solutions, Power consumption, peripherals, firmware development
Understanding the STM32L431RCT6 Microcontroller
The STM32L431RCT6 is a part of STMicroelectronics' STM32L4 series, designed to offer a blend of low-power operation, performance, and rich peripheral features. This ARM Cortex-M4-based microcontroller features 64KB of RAM, 512KB of flash Memory , and runs at a Clock speed of 80 MHz. While its capabilities make it ideal for applications requiring efficiency and power-saving modes, users sometimes encounter various challenges while developing and debugging their systems. This article delves into common issues and solutions to ensure smooth development with the STM32L431RCT6.
1. Power Issues and Low Power Mode Debugging
One of the standout features of the STM32L431RCT6 is its low-power consumption, making it perfect for battery-powered or energy-efficient applications. However, developers often face challenges with managing power modes and achieving the expected low power consumption. Common power-related issues include unexpected power consumption and failure to enter or exit low-power modes correctly.
Issue 1: Power Consumption Higher Than Expected
Cause:
This issue typically arises when the microcontroller is not fully optimized for low-power operation. The STM32L431RCT6 offers several power modes such as Sleep, Stop, and Standby. In some cases, certain peripherals or clocks may not be disabled correctly, leading to higher power consumption.
Solution:
To resolve this, ensure that unused peripherals are correctly turned off. You can use the STM32CubeMX tool to configure the system's clock tree and power settings, ensuring that only essential components are powered. Make use of the Low Power Modes (LPM) that STM32Cube offers to manage peripheral and core power efficiently.
Check clock sources: Disable unnecessary high-speed oscillators when entering low-power modes.
Peripheral management: Disable peripherals that aren’t in use (e.g., UART, SPI, etc.).
Active vs. Sleep mode: Make sure the microcontroller enters the correct low-power mode (Sleep, Stop, or Standby) when not in use.
Issue 2: Failure to Exit Low-Power Mode
Cause:
The STM32L431RCT6 may fail to wake up from low-power modes if certain wake-up sources or external interrupts are misconfigured.
Solution:
Verify that the wake-up sources are properly configured. For example, check the configuration of external interrupt lines, RTC, or any other wake-up sources in STM32CubeMX. Additionally, review the firmware to ensure the appropriate interrupt handlers are enabled to trigger the wake-up from low-power modes.
2. Debugging Communication interface s
Another common area of troubleshooting with the STM32L431RCT6 involves communication interfaces, such as UART, I2C, and SPI, which can be essential for data exchange in embedded systems. Issues like data corruption, signal Timing errors, or peripheral misconfiguration often arise during development.
Issue 1: UART Communication Problems
Cause:
UART communication issues are often the result of incorrect baud rates, mismatch in line configurations, or improper pin connections.
Solution:
To resolve UART issues, ensure the baud rate is correctly configured and matches the settings on both ends of the communication. Use STM32CubeMX to configure the UART peripheral, and double-check the following:
Pin connections: Ensure that TX and RX pins are correctly assigned.
Baud rate: Verify that both transmitter and receiver have the same baud rate.
Parity and stop bits: Ensure consistency in data frame formats (e.g., parity, data bits, stop bits).
Additionally, use a serial analyzer or an oscilloscope to check if the signal is properly transmitted.
Issue 2: I2C Data Loss or Corruption
Cause:
I2C communication issues often occur due to improper clock stretching, incorrect addressing, or mismatched pull-up resistors on the SDA and SCL lines.
Solution:
Pull-up resistors: Check if pull-up resistors are present on both the SDA and SCL lines, typically between 4.7 kΩ to 10 kΩ, depending on your bus speed.
Clock stretching: Make sure that the I2C master and slave devices support clock stretching if required.
Bus arbitration: Ensure that the I2C bus arbitration is handled correctly, especially in multi-master configurations.
Use tools like I2C protocol analyzers to trace and debug the communication lines for issues.
Issue 3: SPI Timing and Signal Integrity
Cause:
SPI communication issues can arise due to mismatched clock polarity, phase, or incorrect signal timings.
Solution:
In STM32CubeMX, you can configure SPI settings like clock polarity (CPOL), clock phase (CPHA), and the clock frequency. Double-check these settings to ensure they match the slave device’s requirements. Additionally, use a logic analyzer to verify that the SPI data signals (MOSI, MISO, SCK) have proper timing and integrity.
3. Firmware Debugging
Sometimes, issues with the STM32L431RCT6 arise from errors in the firmware itself, such as incorrect initialization of peripherals, improper interrupt handling, or bugs in application code. Debugging firmware effectively requires a systematic approach.
Issue 1: Hard Faults or System Crashes
Cause:
A hard fault is a critical error caused by issues such as Access ing invalid memory addresses, stack overflows, or illegal instructions.
Solution:
Use a debugger: Attach a JTAG/SWD debugger (e.g., ST-Link or SEGGER J-Link) and halt the processor to inspect the system state when a hard fault occurs.
Check the stack: Ensure that your stack size is adequate for your application, and check for stack overflows using the STM32CubeMX configuration tool.
Fault handler: Implement a fault handler to capture the exception and log relevant details (e.g., register values, program counter) for analysis.
4. Common Hardware Issues
Issue 1: Power Supply Problems
Cause:
Fluctuations or noise in the power supply can lead to unpredictable behavior in the STM32L431RCT6.
Solution:
Decoupling capacitor s: Place decoupling capacitors close to the power pins of the microcontroller. Typically, a 100 nF ceramic capacitor works well for high-frequency noise.
Power integrity checks: Use an oscilloscope to inspect the power supply rails for noise or voltage drops, particularly during high-speed operations.
Issue 2: Crystal Oscillator Not Starting
Cause:
If the STM32L431RCT6 does not start from an external crystal oscillator, it could be due to incorrect configuration or issues with the crystal itself.
Solution:
Crystal load capacitors: Ensure that the correct load capacitors are selected based on the crystal’s datasheet.
Oscillator settings: Check the configuration of the external oscillator in STM32CubeMX and verify that the microcontroller is correctly set to use the external oscillator rather than the internal one.
Advanced Troubleshooting and Solutions for STM32L431RCT6
In this second part, we will dive deeper into more advanced troubleshooting methods and solutions for common problems faced while working with the STM32L431RCT6 microcontroller.
1. Debugging Bootloaders and Firmware Updates
The STM32L431RCT6 supports various bootloader configurations, including USB, USART, and SPI for firmware updates. Issues with firmware updates or bootloaders can arise, especially when the system fails to boot correctly or when updates are corrupted.
Issue 1: Bootloader Not Starting
Cause:
If the microcontroller fails to enter the bootloader, it may be due to incorrect boot pins configuration or external memory issues.
Solution:
Boot pins: Verify the state of the boot pins (BOOT0 and BOOT1). If they are incorrectly configured, the system may bypass the bootloader or attempt to boot from a non-existent memory.
Boot mode settings: Ensure that the correct boot mode is selected in STM32CubeMX and that the corresponding interface is enabled for firmware updates.
Issue 2: Firmware Update Failures
Cause:
Firmware update failures can be caused by communication issues with the update interface or corruption of the update file.
Solution:
Communication integrity: Double-check the communication interface (e.g., USART, USB, or SPI) for data integrity. Using a protocol analyzer can help confirm if data is transmitted correctly.
Firmware integrity check: Implement a checksum or CRC to verify the integrity of the firmware before starting the update process.
2. Troubleshooting ADC and DAC
The STM32L431RCT6 offers high-performance ADC (Analog-to-Digital Converter) and DAC (Digital-to-Analog Converter) features, but there are some common issues developers face when using these peripherals.
Issue 1: ADC Conversion Errors
Cause:
If the ADC is returning invalid or noisy values, it could be due to improper reference voltage, sampling time, or poor analog input signal integrity.
Solution:
Reference voltage: Ensure that the reference voltage is stable and within the required range.
Sampling time: Configure the correct sampling time based on the input signal characteristics.
Analog signal conditioning: Use proper filtering and signal conditioning to remove noise or interference from the analog signal.
Issue 2: DAC Output Problems
Cause:
DAC output problems can arise due to incorrect reference voltage, resolution settings, or configuration of the output pins.
Solution:
Resolution settings: Ensure that the DAC resolution (e.g., 12-bit) is correctly configured.
Output buffer: If necessary, enable the DAC output buffer for better signal quality.
3. Clock Configuration and Timing Issues
The STM32L431RCT6 has a flexible clock system, but configuring it incorrectly can lead to timing issues and improper operation of peripherals.
Issue 1: Incorrect System Clock
Cause:
Incorrect clock configuration can cause peripherals to operate at incorrect frequencies or the microcontroller to operate slower or faster than intended.
Solution:
STM32CubeMX clock tree: Use STM32CubeMX to configure the clock tree and ensure that the system clock (HCLK) and peripheral clocks (PCLK) are set up correctly.
PLL settings: Check if the PLL (Phase-Locked Loop) is correctly configured for the desired system frequency.
4. Interfacing with External Memory
When using external memory (e.g., EEPROM, Flash, or SDRAM), interfacing issues may arise.
Issue 1: External Memory Not Accessible
Cause:
The STM32L431RCT6 may fail to access external memory due to incorrect address mapping, timing issues, or misconfigured peripheral interfaces.
Solution:
Address mapping: Ensure that the external memory’s address is correctly mapped in the memory-mapped register.
Peripheral interface configuration: If using an external memory interface like FSMC or QuadSPI, verify the peripheral’s timing settings and data width configuration.
This concludes our comprehensive guide on troubleshooting the STM32L431RCT6 microcontroller. With these practical solutions and insights, you should be equipped to resolve common issues and optimize your embedded system development.
If you are looking for more information on commonly used Electronic Components Models or about Electronic Components Product Catalog datasheets, compile all purchasing and CAD information into one place.


