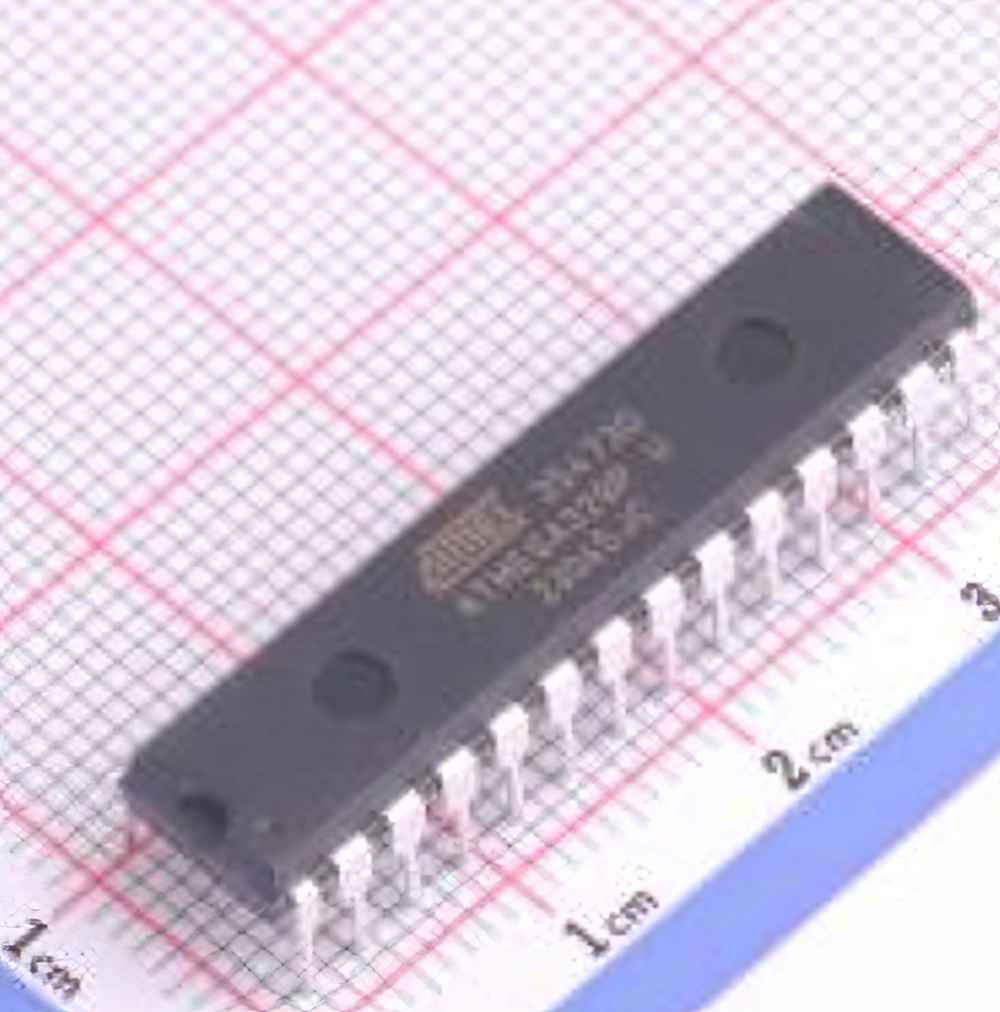
The ATMEGA328P-PU is a widely-used microcontroller that Power s many DIY projects and embedded systems. However, users often face various issues when working with it. This article delves into the most common problems and their solutions to help you troubleshoot and optimize your ATMEGA328P-PU-based projects.
ATMEGA328P-PU, troubleshooting, solutions, common issues, Arduino, microcontroller, embedded systems, programming, debugging, hardware issues, software bugs
Common Troubleshooting Issues with ATMEGA328P-PU
The ATMEGA328P-PU is the heart of the popular Arduino Uno board, offering a powerful yet affordable platform for embedded systems and electronics projects. However, like any microcontroller, it’s prone to some common problems, especially for beginners. This section covers the most frequently encountered issues with the ATMEGA328P-PU, from hardware malfunctions to software glitches, and offers practical solutions to address them.
1. Power Supply Problems
Issue:
One of the most common issues when working with ATMEGA328P-PU is insufficient or unstable power supply. The microcontroller requires a stable 5V input to operate correctly. If the voltage is too low or fluctuates, the ATMEGA328P may fail to start up or behave erratically.
Solution:
To resolve power-related problems, ensure your power supply provides a steady 5V. If you’re using an external power source, consider using a regulated power supply or a voltage regulator to ensure consistency. Additionally, check for any loose connections in the power lines or ground pins.
Recommendation: If you're using an Arduino Uno, it has a built-in voltage regulator, but external power supplies should be verified with a multimeter.
2. Incorrect Fuse Settings
Issue:
The ATMEGA328P-PU microcontroller has internal fuse settings that determine the clock source, startup time, and various other configurations. If these fuses are incorrectly set, the microcontroller may fail to boot or communicate with external devices.
Solution:
To check and reset fuse settings, you need a programmer like the USBasp or an Arduino acting as an ISP programmer. Use the AVRDude tool or a similar program to read and modify the fuse settings. Ensure that the clock source and other settings are correctly configured according to your project’s needs.
Recommendation: Always back up the fuse settings before modifying them to avoid misconfigurations that could lock the chip.
3. Arduino Bootloader Issues
Issue:
If the ATMEGA328P is used in conjunction with an Arduino board, you may encounter problems with the bootloader. A corrupted or missing bootloader can prevent the board from receiving sketches or responding to serial Communication .
Solution:
To fix bootloader issues, you can burn the bootloader again using an external programmer (e.g., USBasp, USBtinyISP) and the Arduino IDE. To do this, go to the "Tools" menu in the Arduino IDE, select "Burn Bootloader," and use the correct programmer. Ensure the microcontroller is properly connected to the programmer during the process.
Recommendation: If you’re using a clone or custom ATMEGA328P-based board, make sure it has the correct bootloader version for your Arduino IDE.
4. Overloading GPIO Pins
Issue:
The ATMEGA328P-PU has a limited number of GPIO pins, and each pin has certain current-driving capabilities. If you exceed these limits, it can cause erratic behavior, and in some cases, damage the microcontroller.
Solution:
To avoid overloading the GPIO pins, always check the datasheet for the maximum current each pin can handle (usually around 20mA per pin, with a total of 200mA across all pins). Use current-limiting resistors or external transistor s to offload power-hungry peripherals.
Recommendation: For projects that require driving high-current devices like motors, consider using a transistor or MOSFET as an intermediate switch between the GPIO pin and the load.
5. Defective or Poorly Connected Components
Issue:
A frequent issue in any embedded system is defective or poorly connected components. This can include anything from loose wires to faulty external sensors or module s connected to the ATMEGA328P. Bad connections often lead to unexpected behavior, like the microcontroller not starting up or failing to communicate with other parts of the circuit.
Solution:
Inspect all connections thoroughly. Use a multimeter to check for continuity between pins and make sure all connections are secure. Additionally, verify the condition of any external components (e.g., sensors, LED s, resistors) to ensure they’re functioning properly.
Recommendation: When prototyping, use a breadboard and jumper wires to easily swap out components and test different configurations.
6. Incorrect Baud Rate or Serial Communication Settings
Issue:
Serial communication is commonly used to communicate between the ATMEGA328P-PU and a computer or other devices. If the baud rate is not set correctly, communication may fail, and the ATMEGA328P might not respond to the host system.
Solution:
Ensure that both the ATMEGA328P and the host computer have the same baud rate. In the Arduino IDE, you can configure the baud rate in the Serial.begin() command. Typical values are 9600, 115200, and other standard rates. Double-check that the serial port settings are correct both in software and in the hardware connections.
Recommendation: If you're unsure about the baud rate, start with 9600 baud and increase it only if necessary for faster communication.
7. Insufficient Memory (RAM and Flash)
Issue:
The ATMEGA328P-PU comes with limited memory resources. If your program is too large or uses too many variables, you may encounter memory-related issues like crashes or failure to load the program.
Solution:
Use the size function in the Arduino IDE to monitor memory usage. Optimize your code by removing unnecessary variables, using smaller data types (e.g., byte instead of int), and making use of flash memory for constant data. Avoid using libraries that consume too much memory unless absolutely necessary.
Recommendation: Consider offloading large datasets to external memory (like EEPROM or an SD card) if your project requires it.
Advanced Troubleshooting Solutions for ATMEGA328P-PU
While the basic issues covered in Part 1 are the most common, advanced problems can arise in more complex setups, especially for those working on custom circuits or sophisticated projects. In this section, we’ll address more challenging issues and explore in-depth solutions to ensure your ATMEGA328P-PU runs smoothly.
1. Watchdog Timer Resets
Issue:
The watchdog timer is a feature in the ATMEGA328P-PU designed to reset the microcontroller if it becomes unresponsive. However, if the watchdog timer is not correctly managed, it can result in frequent, unexpected resets during normal operation.
Solution:
To prevent unnecessary resets, you need to properly configure the watchdog timer in your code. Use the wdt_enable() function to enable the timer and wdt_reset() to clear it before the timer expires. If you don’t need the watchdog timer, you can disable it entirely by setting the appropriate fuse.
Recommendation: Carefully manage the watchdog timer in time-critical applications. Use it only when needed, and ensure it's properly cleared within the time frame.
2. Intermittent Communication Problems (SPI/I2C)
Issue:
When using communication protocols like SPI or I2C, occasional communication failures can occur, especially in noisy environments or with longer wire connections. This could lead to inconsistent data transfer or no communication at all.
Solution:
To resolve communication issues, first check the physical connections. For I2C, ensure pull-up resistors are in place on the SDA and SCL lines. For SPI, ensure the clock signal is stable, and check that the chip select pin is correctly wired. If communication problems persist, try using shorter wires or better shielding to reduce noise.
Recommendation: Consider adding error-handling routines in your code that automatically retry communication in case of failure, especially for long-running systems.
3. External Oscillator Issues
Issue:
The ATMEGA328P-PU can use an external oscillator or crystal for higher accuracy and stability. However, if the external oscillator is not properly connected or calibrated, it can lead to timing issues, such as improper execution of code or failure to communicate with peripherals.
Solution:
Verify that the external oscillator is correctly wired to the appropriate pins (e.g., XTAL1 and XTAL2) and that the ATMEGA328P is configured to use the external clock source via the fuses. Ensure that the oscillator's frequency matches the configuration in the microcontroller’s fuse settings.
Recommendation: Always check the manufacturer’s specifications for your crystal or oscillator to ensure compatibility with the ATMEGA328P.
4. Brown-Out Detection and Reset Problems
Issue:
The ATMEGA328P has a built-in brown-out detector (BOD) that resets the chip when the supply voltage drops below a certain threshold. While this is useful for protecting against power dips, it can cause unexpected resets if the voltage fluctuates near the threshold level.
Solution:
If you experience frequent resets due to brown-out detection, you can either adjust the brown-out voltage threshold through fuse settings or disable it entirely. To adjust the threshold, use a programmer and the appropriate software tool (e.g., AVRDude).
Recommendation: In battery-powered systems, carefully consider whether you need brown-out detection, as disabling it could lead to instability if power levels are unreliable.
5. Debugging with an External Debugger
Issue:
While the ATMEGA328P-PU lacks a built-in hardware debugger like some more advanced microcontrollers, debugging can still be done using an external programmer and tools like the JTAGICE or AVR Dragon.
Solution:
Connect the debugger to the microcontroller’s debugging interface (e.g., JTAG or SWD) and use a compatible IDE (e.g., Atmel Studio or PlatformIO) to step through your code, inspect memory, and analyze program behavior. This approach can help you pinpoint complex issues that are hard to diagnose with simple serial prints.
Recommendation: For complex projects, consider integrating an external debugger to speed up development and troubleshooting.
Conclusion
The ATMEGA328P-PU microcontroller is a robust and versatile chip widely used in a variety of embedded systems. While it offers a wealth of functionality, it’s not immune to issues. Understanding the most common problems, such as power supply fluctuations, fuse misconfigurations, and communication failures, is crucial for ensuring smooth operation. By following the troubleshooting tips and solutions provided in this guide, you can address issues effectively and keep your ATMEGA328P-PU-based projects running without a hitch.
Partnering with an electronic components supplier sets your team up for success, ensuring the design, production, and procurement processes are quality and error-free.


