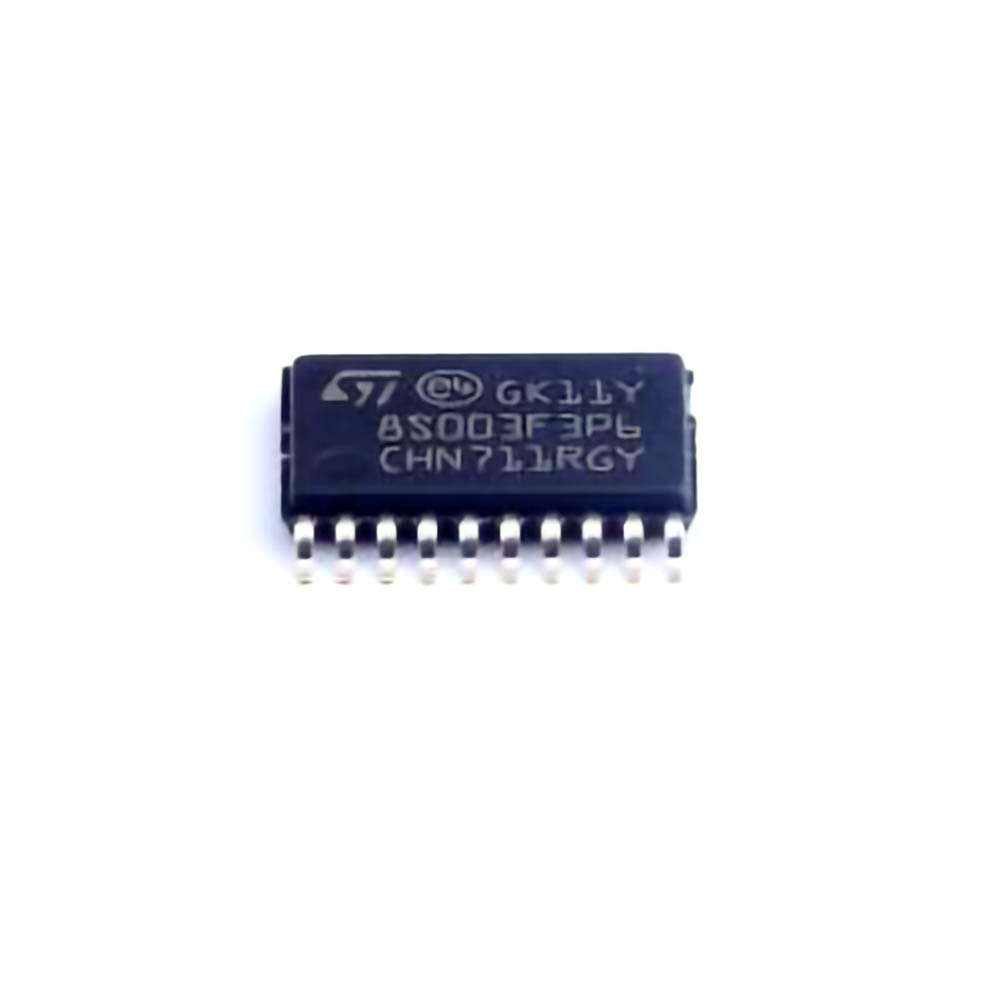
Introduction to the STM8S003F3P6
The STM8S003F3P6 is a microcontroller from STMicroelectronics that belongs to the STM8 family of 8-bit microcontrollers. It's an affordable yet Power ful chip commonly used in a wide range of embedded applications, from consumer electronics to automotive systems and industrial control. With a Clock speed of up to 16 MHz, 8 KB Flash memory, and 1 KB RAM, the STM8S003F3P6 offers sufficient power for many simple to moderately complex tasks.
Despite its flexibility and reliability, developers can occasionally run into problems while working with the STM8S003F3P6. These issues may arise during programming, debugging, or even during runtime operation. Troubleshooting microcontroller-related problems can be time-consuming and frustrating, especially for those new to embedded systems. In this article, we'll discuss some of the most common issues faced with the STM8S003F3P6 and how to solve them efficiently.
Common Issues and Troubleshooting Techniques
1. Unable to Program the STM8S003F3P6
One of the most frequent issues developers encounter is the inability to program the STM8S003F3P6. This problem often occurs when using tools like ST-Link or a USB-to-UART converter. The issue could be related to several factors:
Power Supply Problems: Ensure that the microcontroller is receiving a stable and sufficient power supply. If the STM8S003F3P6 is powered incorrectly, programming might fail, or the chip could become unresponsive.
Connection Issues: Double-check the wiring between the programming tool (ST-Link or USB-to-UART) and the STM8S003F3P6. Poor connections, especially with the Reset pin or SWIM (Single-Wire interface Module) pin, can prevent successful programming.
Incorrect Programming Mode: The STM8S003F3P6 uses the SWIM interface for programming. Make sure the programmer is correctly set to work in SWIM mode. If the device is configured in a different mode, programming attempts will not be successful.
Solution:
First, verify your power supply and connections.
Use the STM8S003F3P6 datasheet or reference manual to ensure you're using the correct wiring.
Try to reset the microcontroller, as sometimes an improper bootloader or prior error can lock the device in a non-programmable state.
Check the firmware version of your programming tool (e.g., ST-Link) and update it if necessary.
2. Code Not Executing Properly
Another common issue involves code that doesn't run as expected on the STM8S003F3P6. This could be due to multiple factors, including issues with memory, peripherals, or interrupt handling.
Clock Configuration Issues: If the clock is not properly configured, the STM8S003F3P6 may not operate as intended. The microcontroller can run at different clock speeds, and incorrect configuration can result in erratic behavior.
Watchdog Timer (WDT) Problems: If the Watchdog Timer is not being correctly reset in the code, it could cause the system to continuously reset. This may appear as if the microcontroller is "stuck" or not executing the program properly.
Peripheral Configuration: Incorrect initialization or configuration of peripherals, such as GPIO pins, timers, or UART interfaces, can cause the system to behave unexpectedly.
Solution:
Double-check your clock settings in the initialization code. Ensure that you are configuring the microcontroller to use an external or internal oscillator correctly.
If you're using the Watchdog Timer, make sure that it’s being regularly reset during operation. If you're not using it, disable it in the code to avoid unnecessary resets.
Carefully verify peripheral initialization and configuration steps. Use debugging techniques, such as LED blinking, to verify whether particular peripherals are working as expected.
3. Peripheral Not Working as Expected
Peripherals such as ADCs, GPIOs, I2C, or SPI might not function properly for various reasons, including faulty wiring or software misconfiguration. A common scenario involves communication failures, such as an I2C bus hang or incorrect data transmission over SPI.
Solution:
Start by checking the hardware connections. Ensure that the peripheral’s pins are correctly connected to the corresponding devices (e.g., pull-up resistors for I2C).
If the peripheral is based on a communication protocol (SPI/I2C), make sure that the data lines are not shorted and that proper timing and protocols are followed.
Use a scope or logic analyzer to check the signals being transmitted on communication buses, ensuring data is being transferred as expected.
Review the code and verify the correct initialization and usage of the peripheral. You can refer to the STM8S003F3P6 reference manual to ensure that you've correctly configured the registers associated with each peripheral.
4. Interrupt Handling Problems
Interrupts are a crucial feature of many embedded systems, and mishandling interrupts can lead to serious issues, such as missed interrupts, unresponsive systems, or crashes.
Interrupt Vector Confusion: One of the first things to check when experiencing issues with interrupts is whether the interrupt vector is correctly defined. Incorrect vector addresses can cause the microcontroller to jump to an invalid address.
Interrupt Enable/Disable Issues: If interrupts are not properly enabled or cleared, the microcontroller may not process them as expected. This can lead to unexpected system behavior.
Nested Interrupts: STM8S003F3P6 supports nested interrupts, meaning that higher-priority interrupts can interrupt lower-priority ones. However, if not managed carefully, nested interrupts can lead to stack overflows or missed interrupts.
Solution:
Verify the interrupt vector table. Check that all interrupt vectors are correctly mapped in your code and that no interrupts are being "lost" due to misconfiguration.
Make sure interrupts are correctly enabled and cleared at appropriate points in the code. Always ensure the interrupt flag is cleared in the interrupt service routine (ISR).
Be cautious with nested interrupts. If using nested interrupts, ensure that the interrupt priorities are set correctly and that the system is not overwhelmed with too many nested calls.
5. Low-Level Debugging Issues
Debugging embedded systems can sometimes feel like a black box operation. Low-level debugging issues, such as when breakpoints are ignored or when the debugger shows incorrect values, can leave you scratching your head.
Debugger Connection Issues: If the debugger is not correctly connected, the debugger may fail to show real-time data or may even disconnect during debugging sessions.
Incorrect Debugger Configuration: A mismatch between the debugger's configuration and the STM8S003F3P6's settings can cause unexpected behavior during debugging. For instance, using an incompatible debugger interface or misconfigured debugging protocols might hinder your debugging efforts.
Solution:
Verify that the debugger is correctly connected to the microcontroller. Check the SWIM interface and ensure that the debugger is properly communicating with the device.
Ensure that the debugger settings, including clock speed and breakpoints, are correctly configured for the STM8S003F3P6. Refer to the documentation for both the debugger and the microcontroller to ensure compatibility.
If you encounter issues with breakpoints or other debugging features, try restarting both the debugger and the microcontroller to clear any temporary glitches.
6. Electromagnetic Interference ( EMI ) and Noise
In embedded systems, electromagnetic interference (EMI) and noise can interfere with the microcontroller’s operation, causing unpredictable behavior. This is particularly common when running high-speed peripherals or in environments with significant electromagnetic fields.
Solution:
Use proper decoupling capacitor s close to the power supply pins of the STM8S003F3P6 to minimize noise.
If possible, use shielded enclosures to prevent EMI from affecting the microcontroller.
For high-speed peripherals, consider adding additional filtering components like ferrite beads or resistors to suppress high-frequency noise.
Conclusion
Troubleshooting the STM8S003F3P6 microcontroller can be a challenging task, but by systematically analyzing hardware and software configurations, you can solve most issues efficiently. Ensuring proper power supply, debugging tools, peripheral initialization, and interrupt handling is key to ensuring smooth operation.
By following the advice and solutions presented in this article, you’ll be well-equipped to identify and resolve common STM8S003F3P6 issues. Whether you are developing new embedded applications or maintaining existing ones, these troubleshooting techniques can save you valuable time and effort, helping you to deliver reliable products.
Partnering with an electronic components supplier sets your team up for success, ensuring the design, production, and procurement processes are quality and error-free.


